
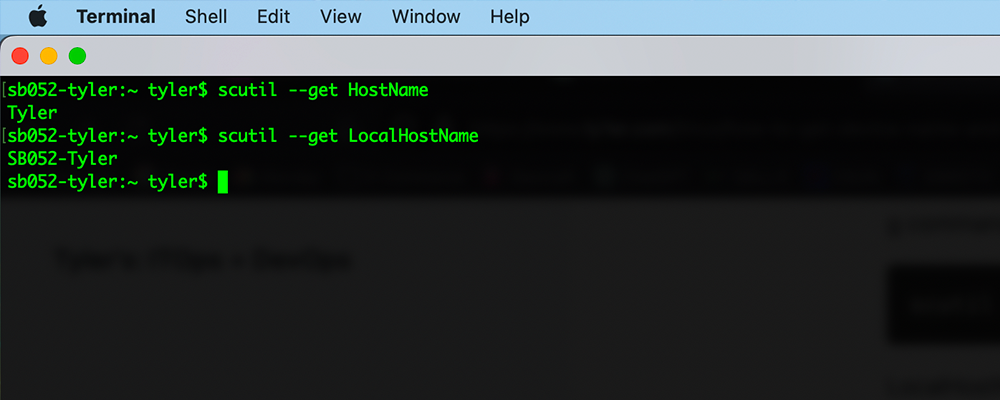
Are you a Mac user who loves to explore the depths of your operating system? Do you want to personalize your Mac by giving it a unique name? If so, you’ve come to the right place! In this blog post, we’ll guide you through the process of getting your device name and renaming your Mac computer, all using the Terminal.
Getting Your Device Name from Terminal
Open Terminal: To begin, launch the Terminal application. You can find it in the Utilities folder within your Applications folder or quickly access it using Spotlight by pressing Command + Space and typing “Terminal.”
Check the Current Device Name: Once the Terminal is open, type the following command and press Enter:
scutil --get ComputerNameThis will display the current name of your Mac computer, also known as the “ComputerName.”
Identify the HostName and LocalHostName:
HostName: The HostName is used for network identification. To view it, enter the following command and press Enter:
scutil --get HostNameLocalHostName: The LocalHostName is the name used by Bonjour and the command line. To check it, type:
scutil --get LocalHostNameThe HostName and LocalHostName are often set to the same value as the ComputerName by default.
Renaming Your Mac Computer from Terminal
Change ComputerName: To rename your Mac, use the following command in Terminal (replace “NewComputerName” with your desired name):
sudo scutil --set ComputerName NewComputerNameTerminal will prompt you to enter your user password to authorize the change. Note that you won’t see your password as you type it, but it is being recorded.
Change HostName and LocalHostName:
To change the HostName, use this command (substitute “NewHostName” with your preferred name):
sudo scutil --set HostName NewHostNameTo change the LocalHostName, type the following (replace “NewLocalHostName” with your chosen name):
sudo scutil --set LocalHostName NewLocalHostNameUpdating these names individually allows you to have different values for each if needed.
Flush DNS Cache (optional): If you changed the HostName, it’s a good idea to flush your DNS cache to avoid potential conflicts. Enter the following command:
sudo dscacheutil -flushcacheRestart Your Mac: To apply the changes, restart your Mac either by clicking the Apple logo in the top left corner and choosing “Restart” or by entering the following command:
sudo shutdown -r nowCongratulations! You have successfully renamed your Mac computer using the Terminal. Your Mac will now respond to the new name you provided, both on the network and when addressed via the command line.
Remember that the names you choose should not contain any special characters, spaces, or punctuation marks, and it’s a good practice to use a descriptive yet concise name.
Conclusion
The Terminal is a powerful tool that allows you to take control of your Mac and perform various tasks quickly and efficiently. By learning how to get your device name and renaming your Mac computer from the Terminal, you can personalize your machine and make it uniquely yours.
We hope this guide was helpful to you. For more information on Terminal commands or further customization options, feel free to check out Apple’s official documentation on macOS Terminal and scutil.
Happy Mac customizing!