The short version: you don't need Photoshop, remove.bg credits, or a subscription to cleanly cut a subject out of a photo. A free, open-source Python library called rembg does it locally on your machine in a couple of seconds — and once it's a script, Claude Code can run it for you every time you drop new photos in a folder. No more "let me just quickly cut this out" derailing twenty minutes of your afternoon.
This post gives you the actual script (copy-paste or download it), walks through setup start to finish, and shows a real run — not a mockup — end to end.
Why bother scripting this?
If you only ever need to cut out one photo a year, sure, use an online tool. But the moment you're doing this repeatedly — product shots for a shop, headshots for a team page, thumbnails for a blog — the "upload, wait, download, repeat" loop gets old fast, and most of the free online tools throttle you, watermark you, or want a subscription past a handful of images.
A local script fixes all three problems at once: it's free forever, it never uploads your photos anywhere, and it can process an entire folder in the time it takes one image to finish on a web tool.
The tool doing the actual work: rembg
rembg is an open-source (MIT-licensed — genuinely free, no strings) Python library built on U²-Net, a neural network trained specifically to separate a subject from its background. The first time you run it, it downloads a small model file (~170MB, one-time, then cached forever); after that it works completely offline.
The script
Save this as remove_bg.py. Point it at one image or a whole folder — it saves transparent PNGs either way.
#!/usr/bin/env python3
"""
remove_bg.py — batch background removal, free and offline after first run.

Point it at one image or a whole folder; it saves transparent PNGs next to
(or into) an output folder. Uses rembg (U^2-Net under the hood) — MIT
licensed, no API key, no per-image cost, no upload to a third-party service.

Usage:
    python remove_bg.py photo.jpg
    python remove_bg.py ./product-shots/ -o ./product-shots/no-bg
    python remove_bg.py ./product-shots/ --model isnet-general-use
"""
import argparse
import sys
from pathlib import Path

IMAGE_EXTENSIONS = {".png", ".jpg", ".jpeg", ".webp", ".bmp"}


def main():
    parser = argparse.ArgumentParser(description=__doc__.strip().splitlines()[0])
    parser.add_argument("input", help="Image file or folder of images")
    parser.add_argument("-o", "--output", default="no-bg", help="Output folder (default: ./no-bg)")
    parser.add_argument(
        "--model",
        default="u2net",
        help="rembg model: u2net (general, default), u2net_human_seg (people), "
        "isnet-general-use (sharper edges, slower)",
    )
    args = parser.parse_args()

    try:
        from rembg import remove, new_session
        from PIL import Image
    except ImportError:
        print("Missing dependencies. Run: pip install rembg pillow onnxruntime")
        sys.exit(1)

    input_path = Path(args.input)
    if not input_path.exists():
        print(f"Not found: {input_path}")
        sys.exit(1)

    output_dir = Path(args.output)
    output_dir.mkdir(parents=True, exist_ok=True)

    if input_path.is_dir():
        images = sorted(p for p in input_path.iterdir() if p.suffix.lower() in IMAGE_EXTENSIONS)
    else:
        images = [input_path]

    if not images:
        print(f"No images found in {input_path}")
        sys.exit(1)

    print(f"Loading model '{args.model}' (first run downloads it, then it's cached)...")
    session = new_session(args.model)
    print(f"Removing backgrounds from {len(images)} image(s)...\n")

    for i, img_path in enumerate(images, 1):
        out_path = output_dir / f"{img_path.stem}.png"
        print(f"  [{i}/{len(images)}] {img_path.name} -> {out_path}", end="  ", flush=True)
        with Image.open(img_path) as img:
            result = remove(img, session=session)
            result.save(out_path)
        print("done")

    print(f"\nAll set — {len(images)} transparent PNG(s) saved to {output_dir}/")


if __name__ == "__main__":
    main()
Setup, step by step
1. Install Python (if you don't already have it)
macOS and most Linux distros already have Python 3. Check with:
python3 --versionIf that fails, grab it from python.org (Windows/Linux) or brew install python3 (macOS).
2. Create a virtual environment (recommended, not required)
Keeps rembg's dependencies out of your system Python. Optional, but tidy:
python3 -m venv venv
source venv/bin/activate   # Windows: venv\Scripts\activate
3. Install the three dependencies
pip install rembg pillow onnxruntime Heads up: some environments install rembg without pulling in onnxruntime automatically — if you get ModuleNotFoundError: No module named 'onnxruntime', just pip install onnxruntime on its own and you're set.
4. Save the script and run it
python remove_bg.py your-photo.jpgOr point it at an entire folder:
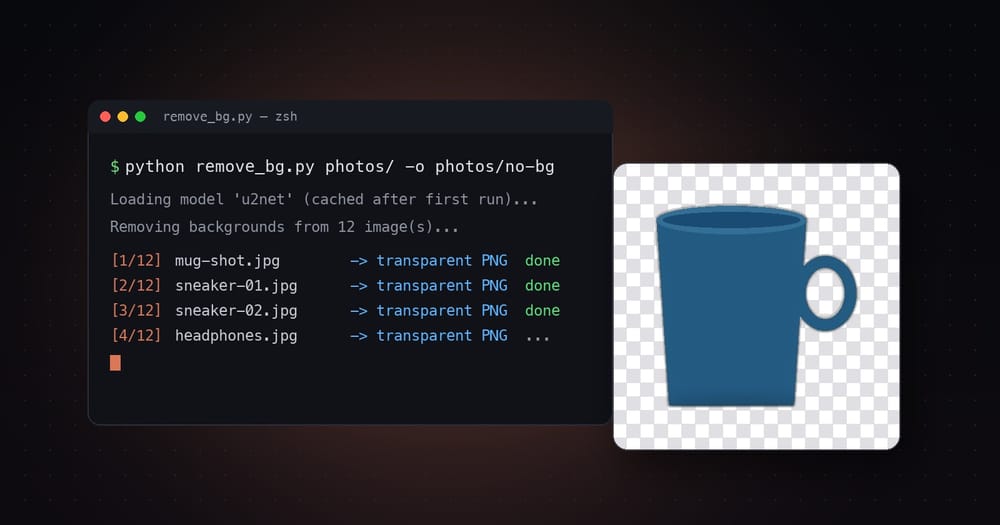
python remove_bg.py ./product-shots/ -o ./product-shots/no-bgWatch it actually run
This isn't a mockup — it's the real command and the real output from running the script above on a sample image, replayed as an animation:
The real result
Before / after — genuinely produced by the script above, not staged in an image editor:
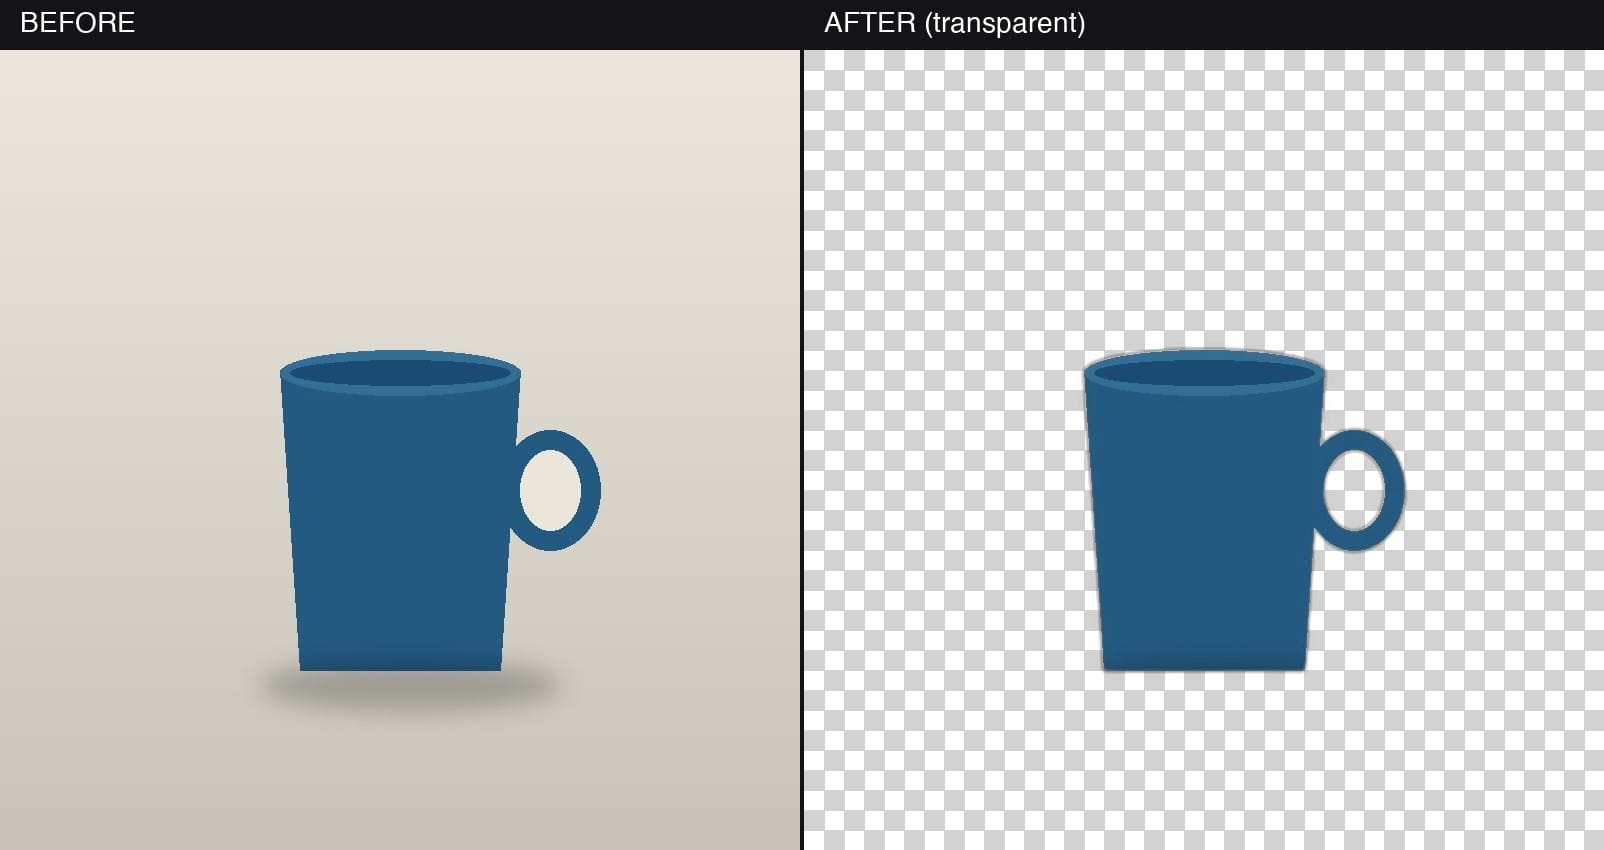
And because it's actually transparent (not just "white background"), it drops cleanly onto literally anything:

Make Claude Code run this for you
Here's the part that actually saves time long-term: instead of remembering the command every time, wire it up as a Claude Code custom slash command. Drop this file into any project:
.claude/commands/remove-bg.md---
description: Remove the background from an image or folder of images
---
Run `python remove_bg.py $ARGUMENTS` in the project root and report the
output folder and how many images were processed. If rembg, pillow, or
onnxruntime aren't installed, install them first with pip, then re-run.
Now, from inside a Claude Code session in that project, you just type:
/remove-bg ./photos/...and Claude Code runs the script, handles a missing dependency if it hits one, and tells you where the results landed — no context-switching to a terminal, no re-explaining what you want every time. That's the whole point: turn a five-step manual chore into one command you never have to think about twice.
A few things worth knowing
Swap the model: --model u2net_human_seg. It's trained specifically on human subjects and handles hair/edges noticeably better than the general model.
Try --model isnet-general-use — sharper edge detection, at the cost of running a bit slower per image.
That's the one-time ~170MB model download. Every run after that is fast and fully offline — nothing leaves your machine.
JPEGs can't store transparency. The script always saves results as .png regardless of your input format — that's not a bug.