
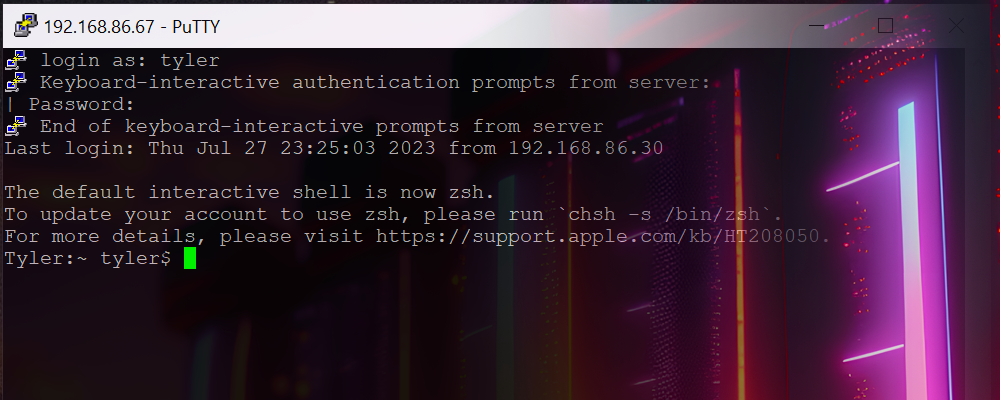
Remote access to your machines is a normal part of working across platforms. If you own a Mac but spend most of your day on a Windows PC, Secure Shell (SSH) is the simplest, most secure way to reach it. This guide walks through the whole process — and it is shorter than it used to be, because modern Windows already has everything you need.
What is SSH?
SSH is a cryptographic network protocol for secure communication over an untrusted network, most commonly used for remote shell access and file transfer. It encrypts everything between the client (your Windows PC) and the server (your Mac), so credentials and session data are not sent in the clear.
Step 1: Enable Remote Login on your Mac
SSH access is off by default. On macOS Ventura (13) and later, where System Preferences was renamed System Settings:
- Open System Settings from the Apple menu.
- Go to General → Sharing.
- Turn on Remote Login.
On macOS Monterey (12) and earlier, the path is System Preferences → Sharing, then tick Remote Login.
Click the ⓘ next to Remote Login to choose whether all users or only specific users may connect. Limiting it to the accounts that actually need access is worth the extra few seconds.
Step 2: Find your Mac's IP address
The quickest way is a single Terminal command, which prints just the address of your primary interface:
ipconfig getifaddr en0Use en0 for Wi-Fi on most Macs and en1 for wired Ethernet — if one returns nothing, try the other. You can also run ifconfig for the full picture, though it prints a great deal more than you need.
Prefer to click? System Settings → Network shows the address for the connected interface.
Note that this is a local address. Reaching your Mac from outside your own network needs a VPN or a properly configured port forward, and exposing SSH directly to the internet is not something to do casually.
Step 3: Connect from Windows
You almost certainly do not need to install anything. Windows 10 (version 1803 and later) and Windows 11 both ship with the OpenSSH client built in. Open PowerShell, Windows Terminal, or Command Prompt and run:
ssh your-mac-username@192.168.1.42Substitute your own Mac username and the IP address from Step 2. The first time you connect you will be asked to verify the host's fingerprint — type yes to accept it, then enter your Mac password. Nothing appears as you type the password; that is normal.
If ssh is not recognised, enable it under Settings → System → Optional features → Add an optional feature → OpenSSH Client.
Prefer a GUI? PuTTY still works
If you would rather use a graphical client, or you are on an older version of Windows, PuTTY remains a solid choice. Enter your Mac's IP address in Host Name, leave the connection type as SSH on port 22, optionally save the session so you needn't retype it, then click Open and authenticate.
Step 4: Make it easier next time
Once the connection works, a small amount of setup removes most of the friction:
- Use key authentication instead of a password. Run
ssh-keygenon Windows, thenssh-copy-id user@your-mac(or paste the contents of your public key into~/.ssh/authorized_keyson the Mac). It is both more convenient and considerably more secure. - Give the host a short name. Add an entry to
C:\Users\you\.ssh\configso you can simply typessh mymac:
Host mymac
    HostName 192.168.1.42
User your-mac-username- Copy files too. The same credentials work with
scpandsftp, both also built into Windows.
A note on security
Remote Login opens a real door into your Mac, so it is worth closing the obvious gaps:
- Restrict Remote Login to specific users rather than All users.
- Use SSH keys and, once they work, consider disabling password authentication entirely.
- Turn Remote Login off when you are not using it — it is a single toggle.
- Do not forward port 22 straight to the internet. Use a VPN, or a service such as Tailscale, if you need access from outside the network.
That is the whole job. With OpenSSH built into Windows and Remote Login a single switch on macOS, bridging the two systems takes about two minutes — and with key authentication set up, every connection after the first is a single command.